We realize we make packing seem effortless but the truth is it’s probably the most dreaded task of moving. It requires diligence and planning. If you intend on taking the DIY approach, we have all the packing tips you’ll need. If you find the process too daunting- we’ve got you covered.
Packing Supplies
Like any other project, the first thing you will need to do is gather your supplies for packing. This will include:
- moving boxes
- tape
- markers
- labels – bonus points for different colors
- protective material such as packing paper, bubble wrap and plastic wrap.
**Pro tip – Not all boxes are created equal.
Invest in standard moving boxes. They are more durable and come in a variety of sizes and designs for kitchenware, dishes, and wardrobes, making packing easier.
Set Aside a Toolbag
Have a tool bag set aside filled with contents that will allow you to disassemble and assemble your furniture. You will want to have it within easy reach and should include the following:
- Drill
- Screwdriver
- Allen keys
- Hammer
- Screws
- Nails
- Ziplocs or plastic wrap for furniture hardware
Start Early
Procrastination is not key here. The goal is to be packed before moving day. If all of your boxes are ready to go you will spend less money on billable hours when hiring professional movers.
Room-to-Room Method
This method is tried and true. Finish packing one room before going to the next. This will help you stay organized and is a more efficient process than dragging all of your belongings out of every closet swamping yourself in a sea of chaos.
**Pro tip – Start in the rooms that are used the least. Such as a guest bedroom to minimize disruption to your daily life until moving day.
What Should Go In A Box?
If it fits it sits!
The more items you have boxed, the less trips you will make carrying items to or from the vehicle you are using for your move.
Any non-furniture items that can fit in a box, should likely be boxed. It’s that simple.
How to Pack Boxes Properly
Do not overstuff your boxes. If the box is too heavy the bottom will collapse and you will be left re-packing your items. Try setting a weight limit of fifty pounds per box.
Start by placing the heaviest items at the bottom of the box and the lightest at the top. Bag up small, loose items such as pens, paperclips, screws, etc. Fill in extra space with packing paper to prevent items from rattling around or being crushed.
Label Your Boxes
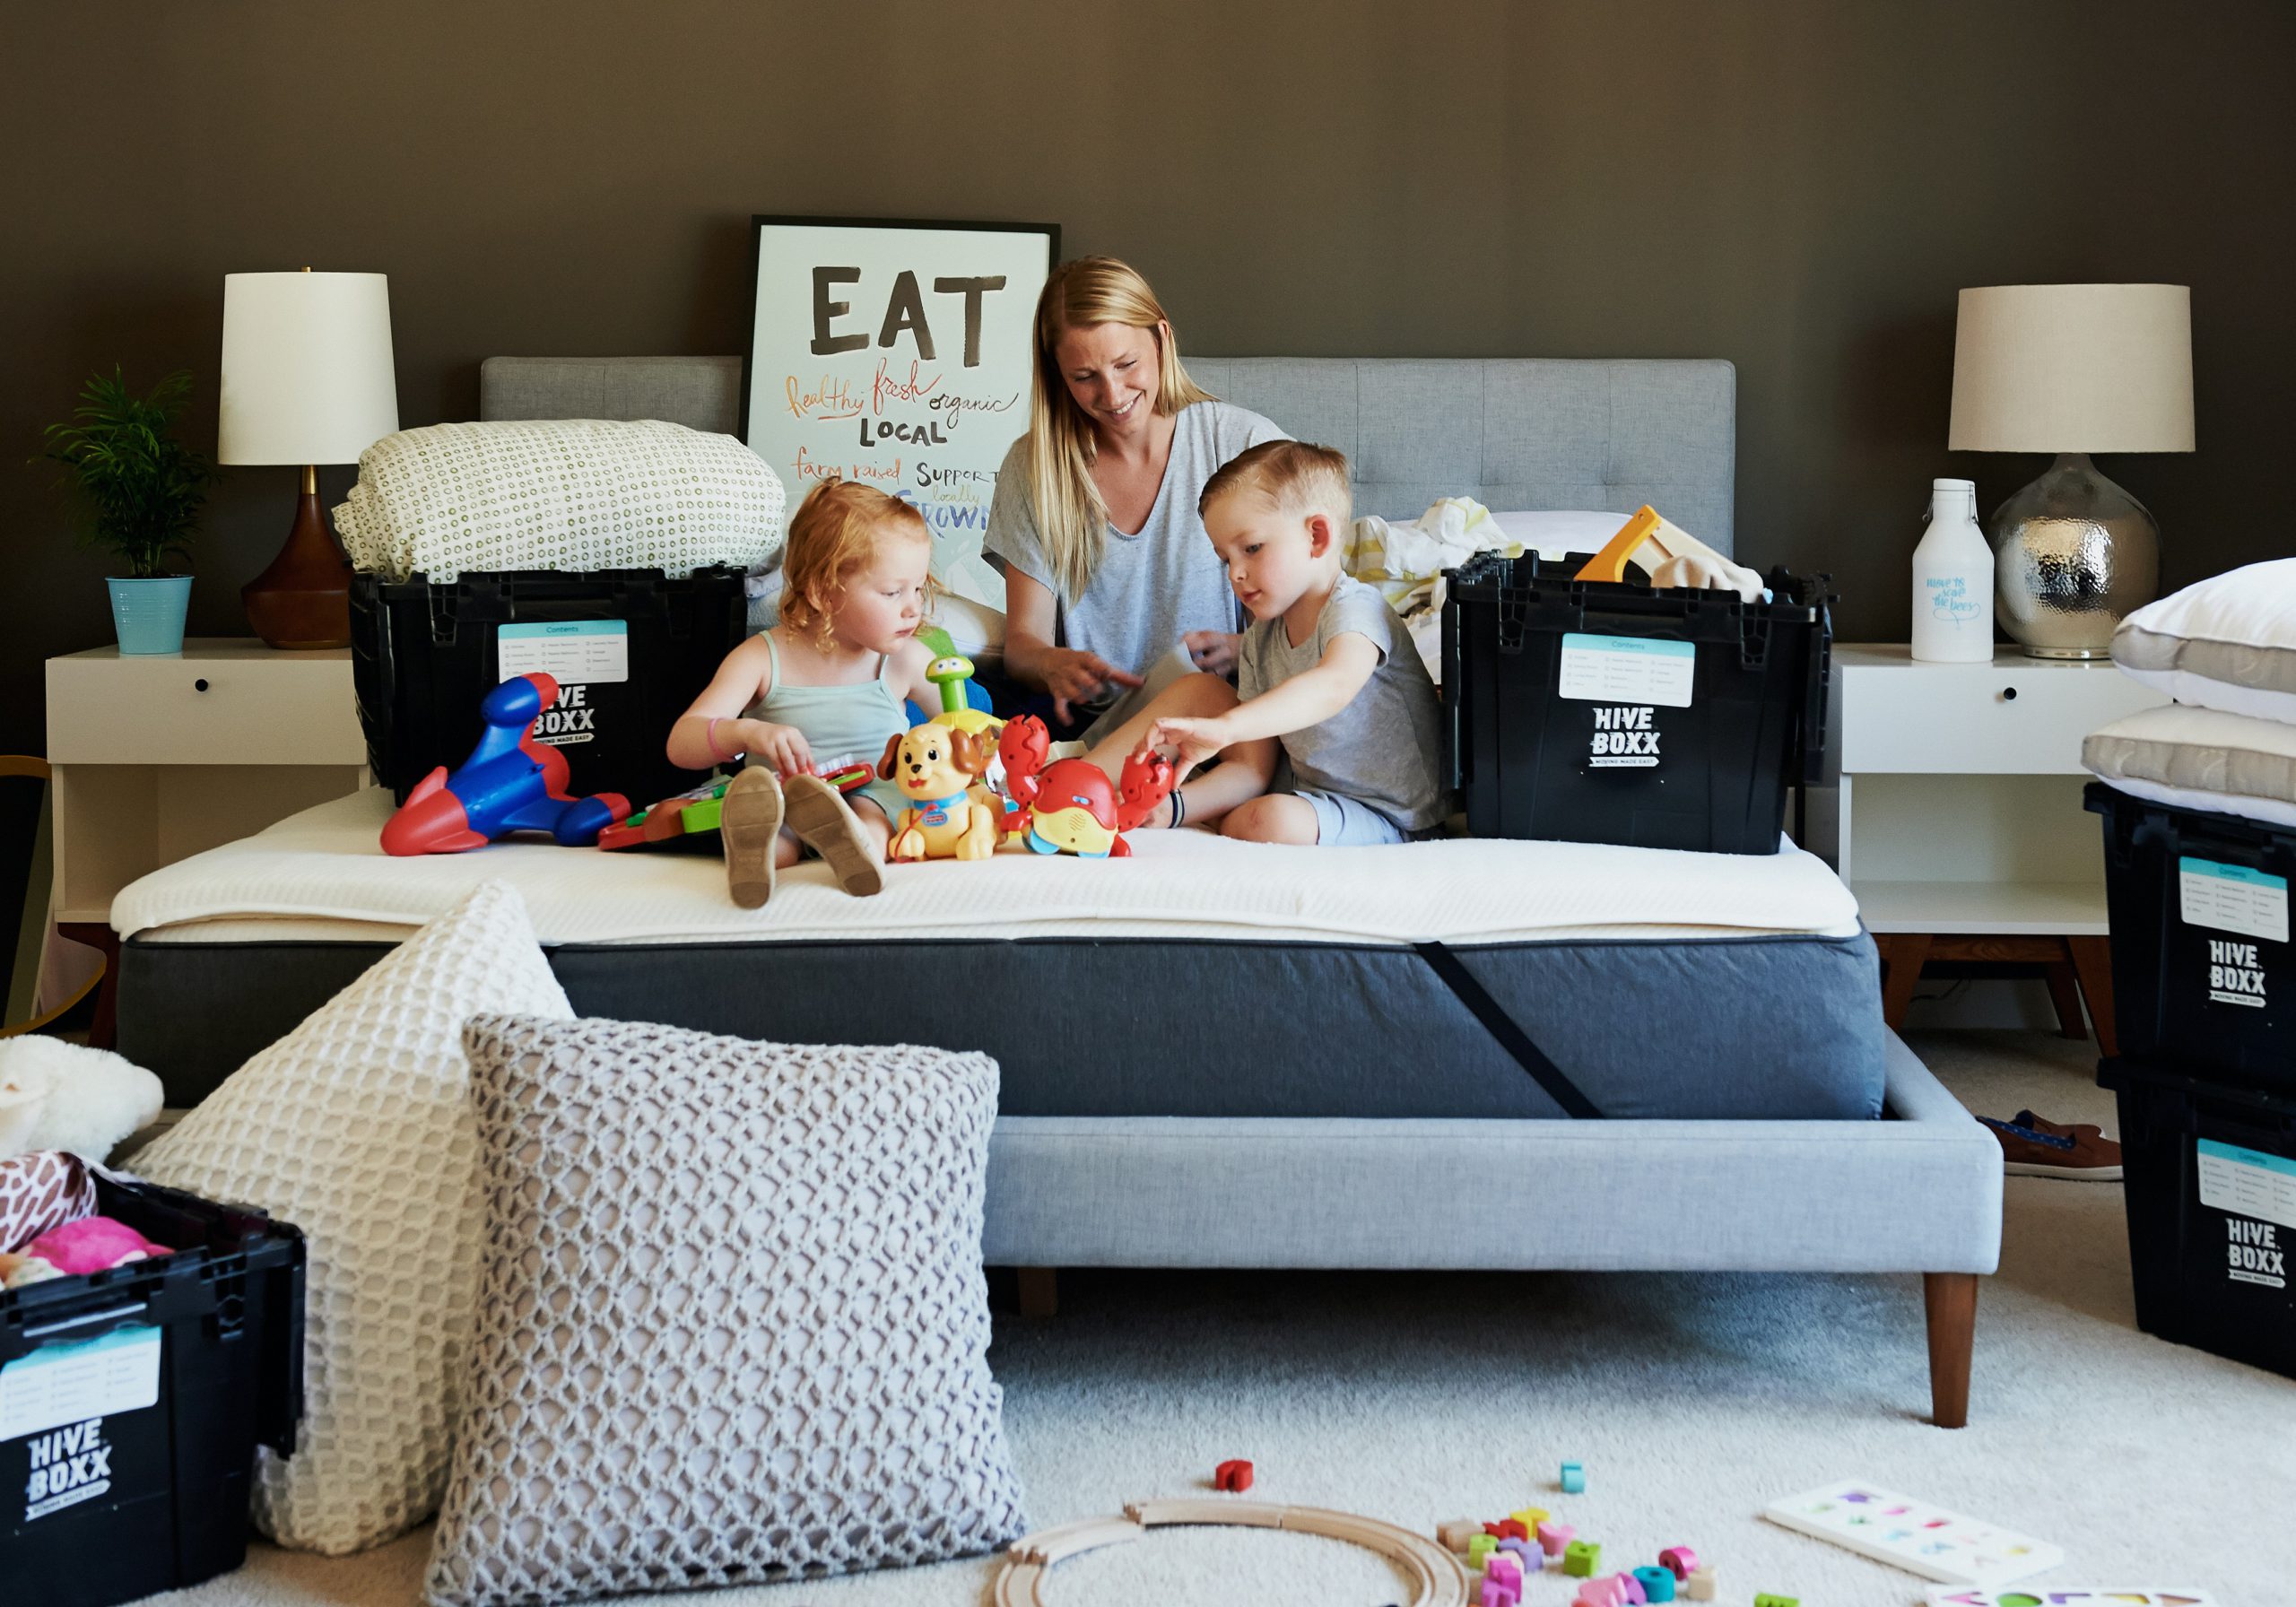
Be sure to label your moving boxes. This will make unpacking so much faster and easier! You can even use colored labels purchased from your local dollar store. Assigning each room it’s own color will help identify which boxes should be placed in which rooms when unloading the truck at your new home. Label your boxes with the following information:
- Which room it belongs to
- Contents of the box
- Fragile – if necessary
**Pro tip – label each box on at least two sides. This way the label can be be found easily regardless of how your boxes end up stacked later.
Keep Liquids Together
Common household cleaners and other liquids should be kept together. Create a box specifically for liquids in each bathroom, the laundry room and kitchen. The idea is to get as many liquids in as few boxes as possible, without making the boxes too heavy. Be sure to tape seals shut and then bag the liquids together and place into the box.
You will want to keep these boxes right side up to prevent spills.
**Pro tip – Label liquid boxes with an “Up” arrow. This alerts your movers to keep the box up right so the liquids will not spill over and leak.
Packing Long Items Like Curtain Rods
Collect all your long household items such as brooms, mops, and curtain rods and bundle them together. They can be fastened using plastic wrap and tape. Since these items do not fit in boxes, this is the best way to pack them together for one quick trip to and from the moving truck.
How to Pack Dishes
Use dish boxes when you can. They are sturdier and have two layers of cardboard specifically designed to support the weight of your dishes. Start by balling up some packing paper and pad the bottom of the box to create a safety layer. Individually wrap each plate, bowl, and cup with packing paper. Stack the wrapped plates and then wrap them together using another layer of protective packing paper. Now do the same for the bowls and cups.
Pack the largest items on the bottom layer of the box and the smallest on the top. Be sure to continue adding layers of balled up packing paper between each layer of dishes to prevent breakage in transit.
Pack stemware in a separate box.
**Pro tip – Do not pack your dishes flat. Instead, set them on their edges. Flat dishes equal broken dishes.
Should I Pack My Dresser?
As long as it’s a sturdy dresser, our movers do not require the removal of clothes, but anything else should be removed and packed in a moving box. A good licensed moving company will use moving blankets to wrap the dresser to prevent damage.
Make An Overnight Bag
Rarely does anyone completely unpack the same day they moved into a new home. For this reason, it is best to be prepared. Pack a small suitcase with your toothbrush, toiletries, phone charger and at least two days of clothing. You can live out of your overnight bag until you have your new home more organized.


